Dungeon Diorama - Large Room Part 4
Robert 0 Comments February 20, 2018
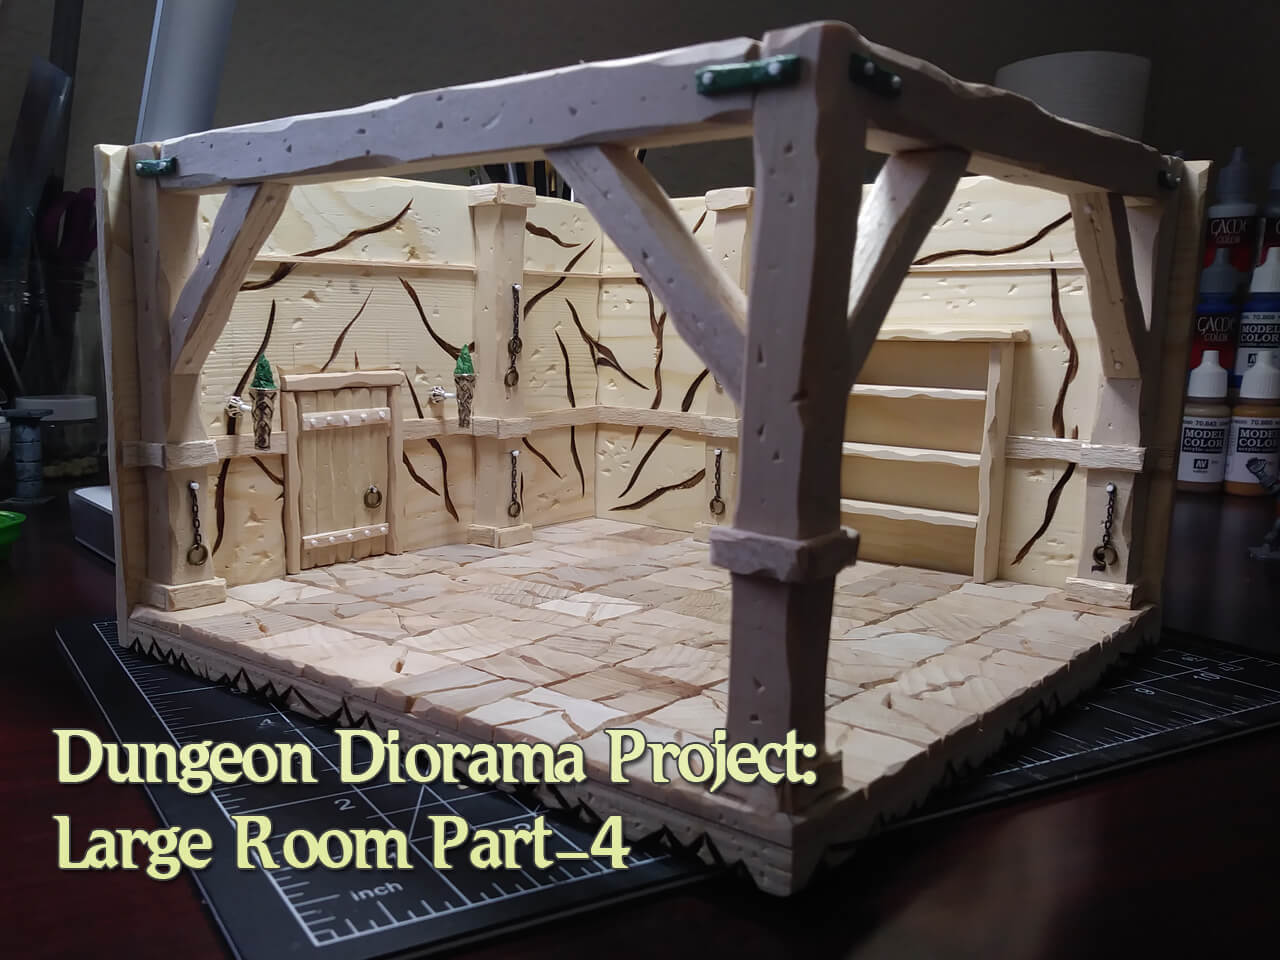
Welcome back to the Miniature Dungeon Diorama Project – Large Room Part 4. So in my haste to put this together, I almost forgot to discuss the bookshelf, so let's do that next.
Step 10 – Adding the bookshelf…
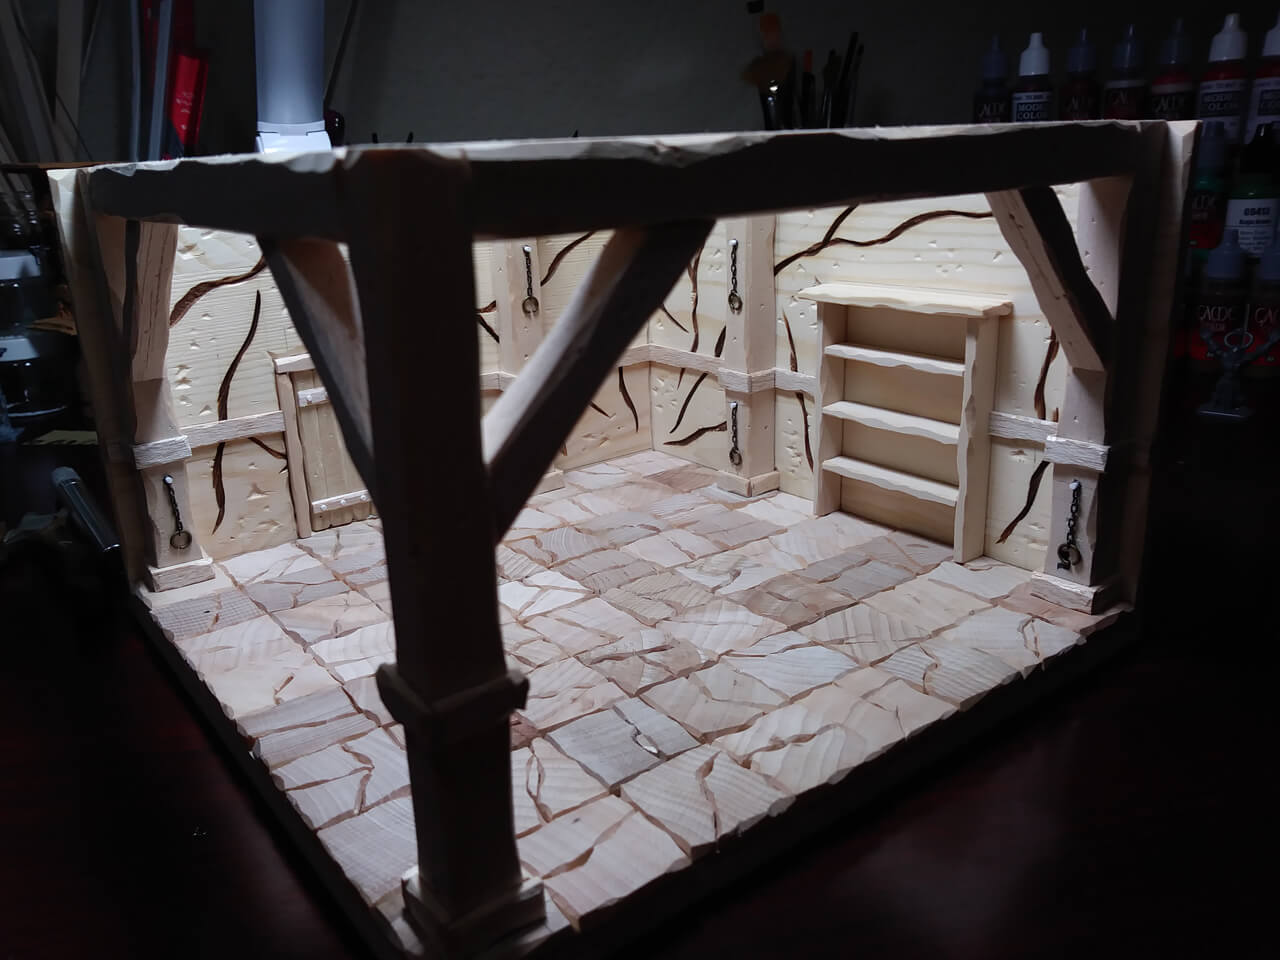
I knew I wanted to add a bookshelf in this build. I also knew I wanted it to be big and beefy looking. So I first started to dry fit the frame together to get an idea of the size and how everything would look.
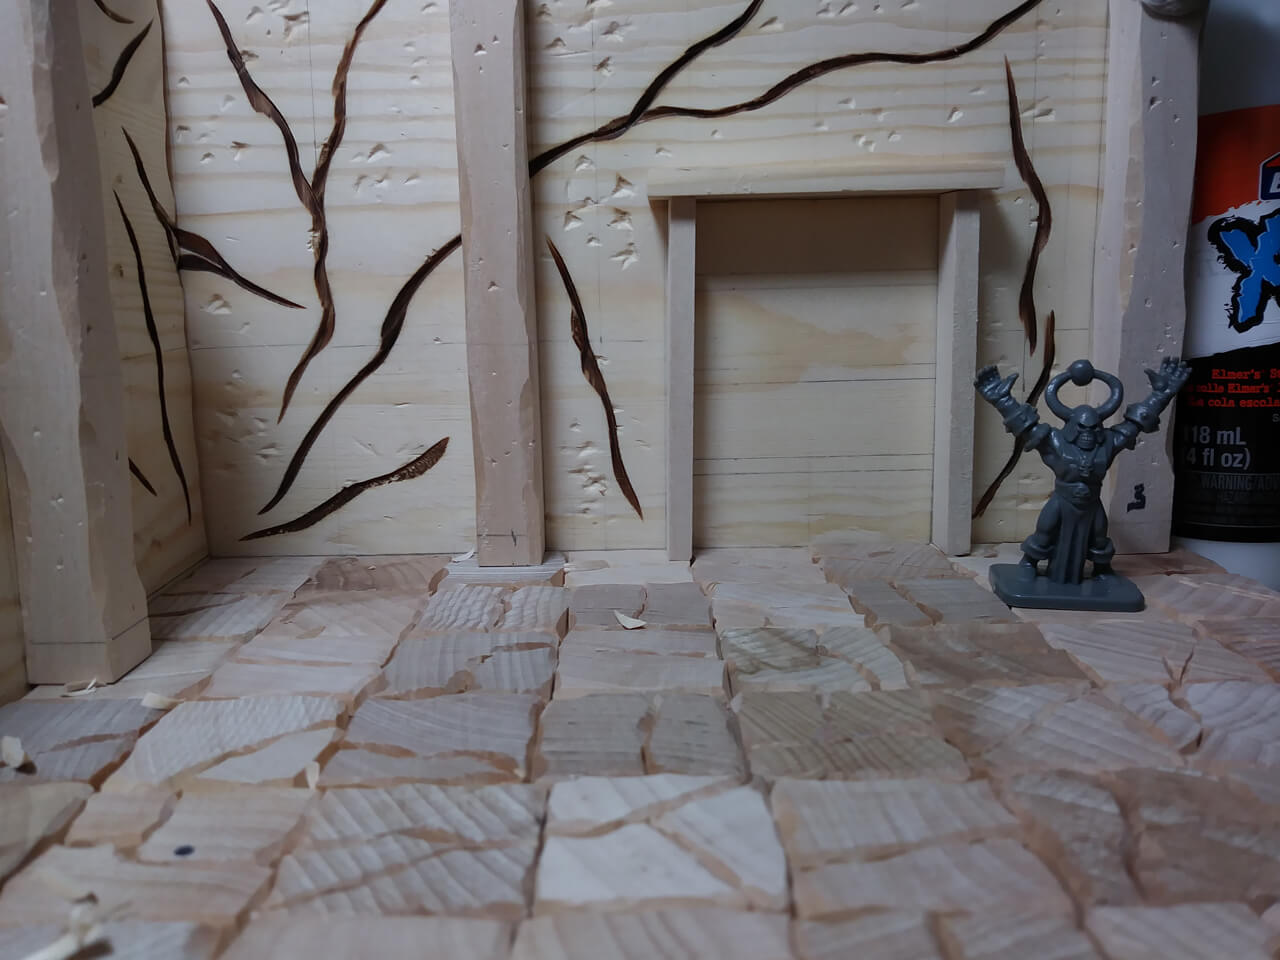
I added a few books to get an idea of the overall height of each shelf.
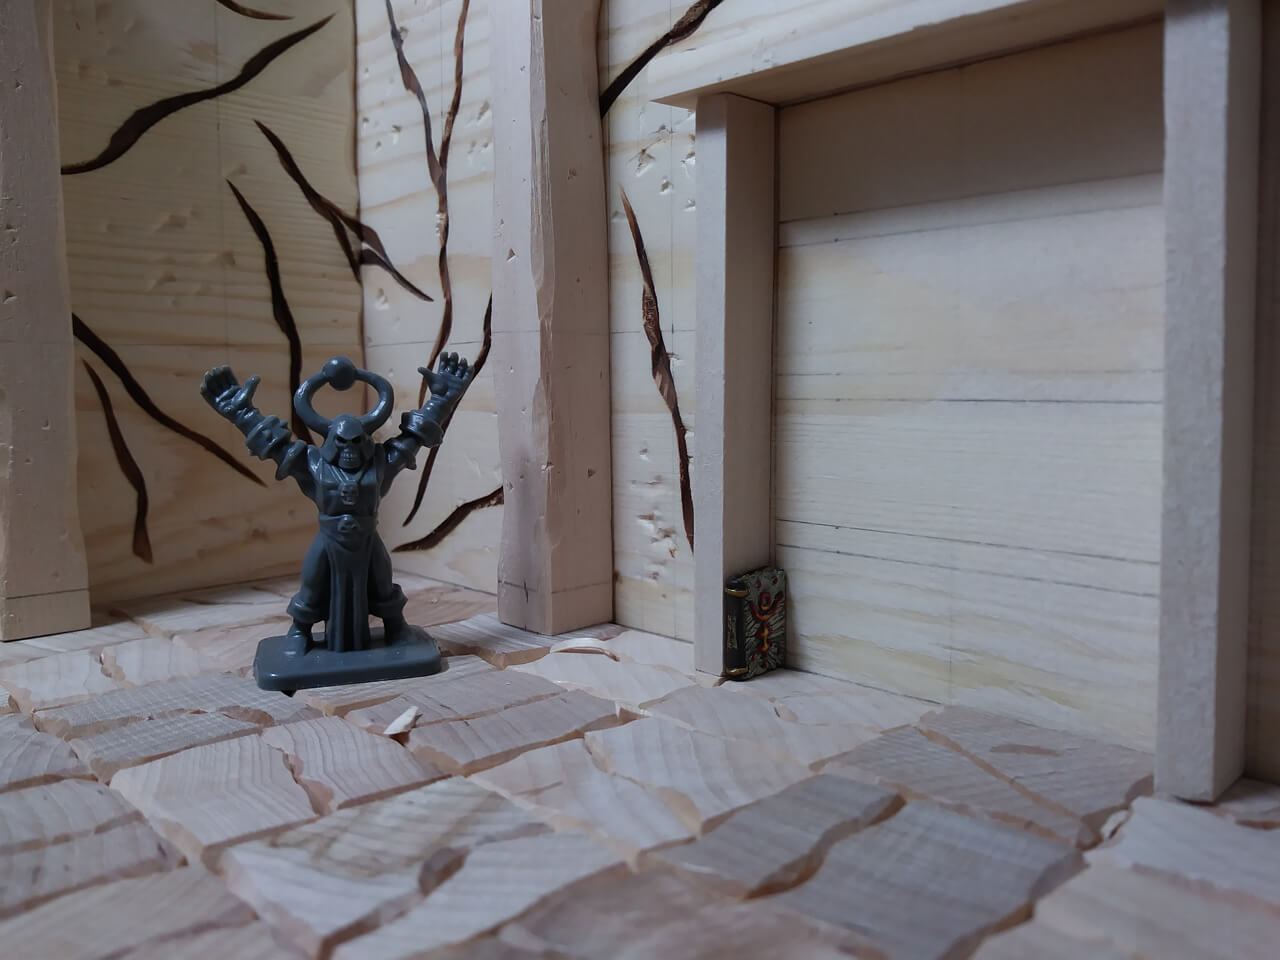
As you can see below, the shelves seem like they are a prefect height, everything fits nicely!
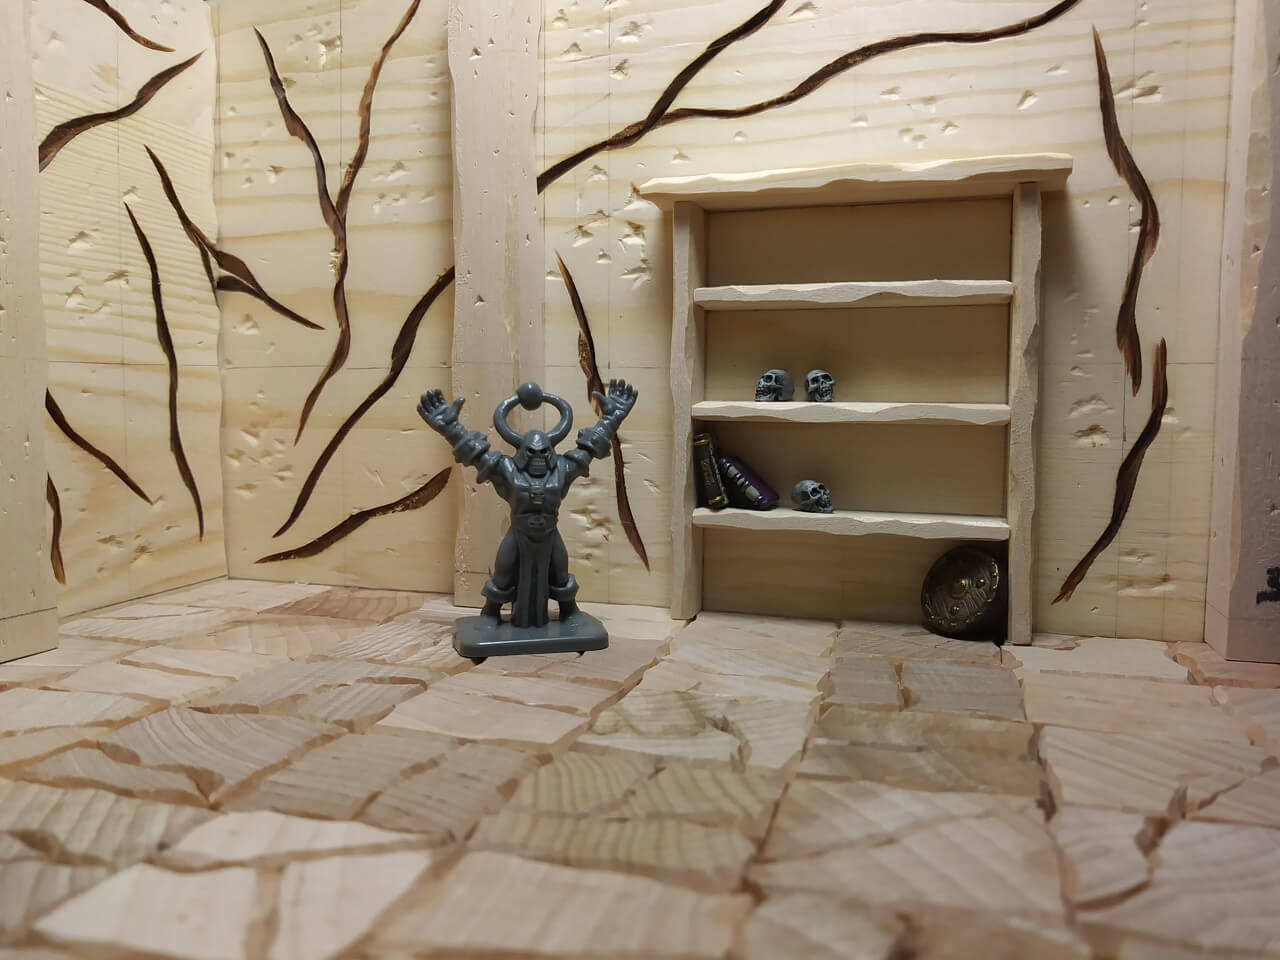
The shelf unit turned out pretty nice, and I think it fits well with the rest of the room - what do you think?
Step 11 – Adding torches…
A dungeon room isn't complete without a few torches. Below you can see I started to experiment with a design for the backside of the torch, the part that connects to the wall. These metal bits I picked up at a local craft store, they are used for making jewelry. Their small size fits perfect with the scale I'm working with.
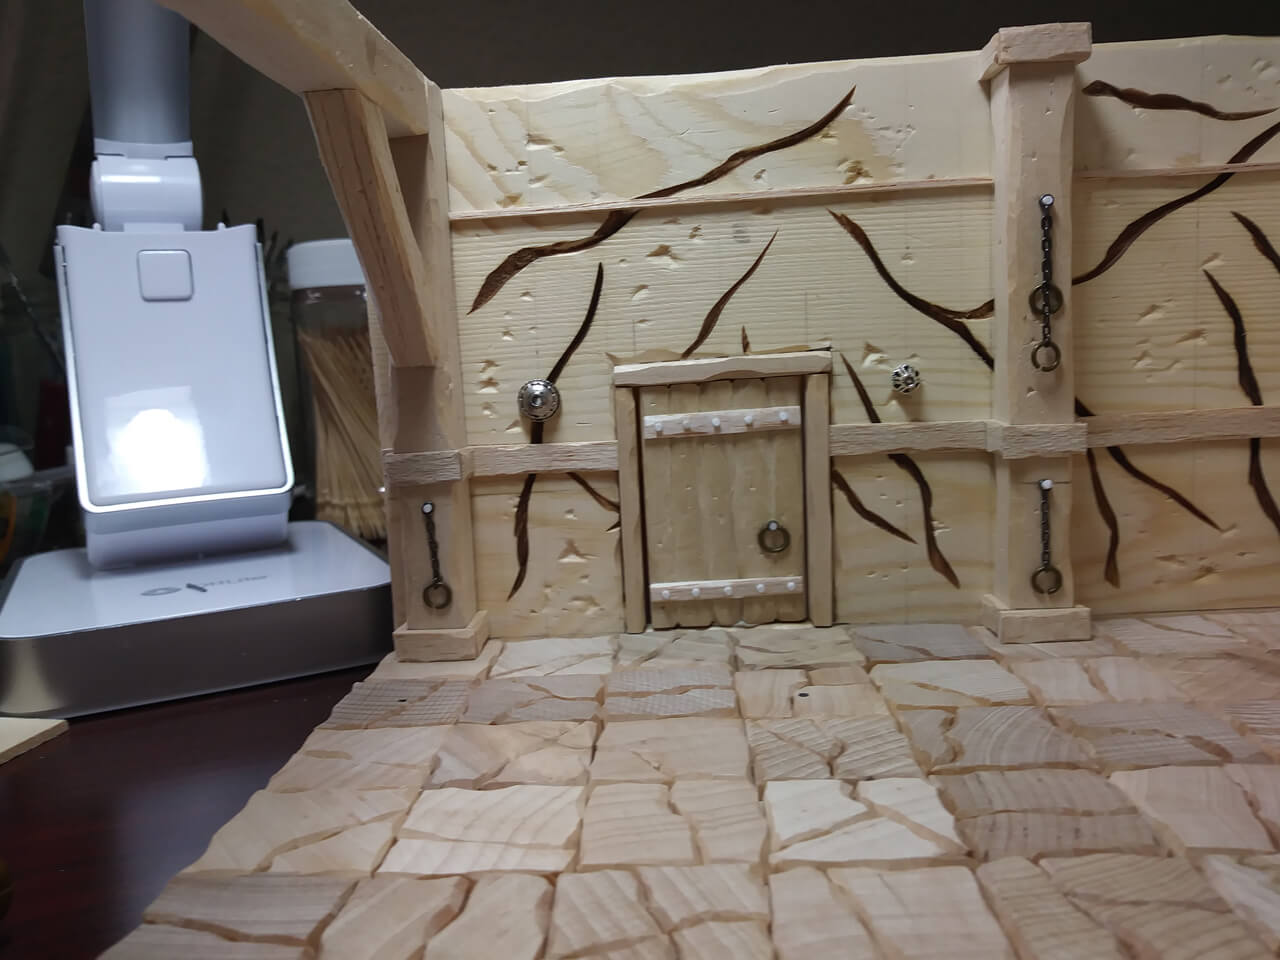
Next I picked out some pieces that would look good for the main body of the torch. At this point I'm still dry fitting all the pieces together, just checking to see how everything looks.
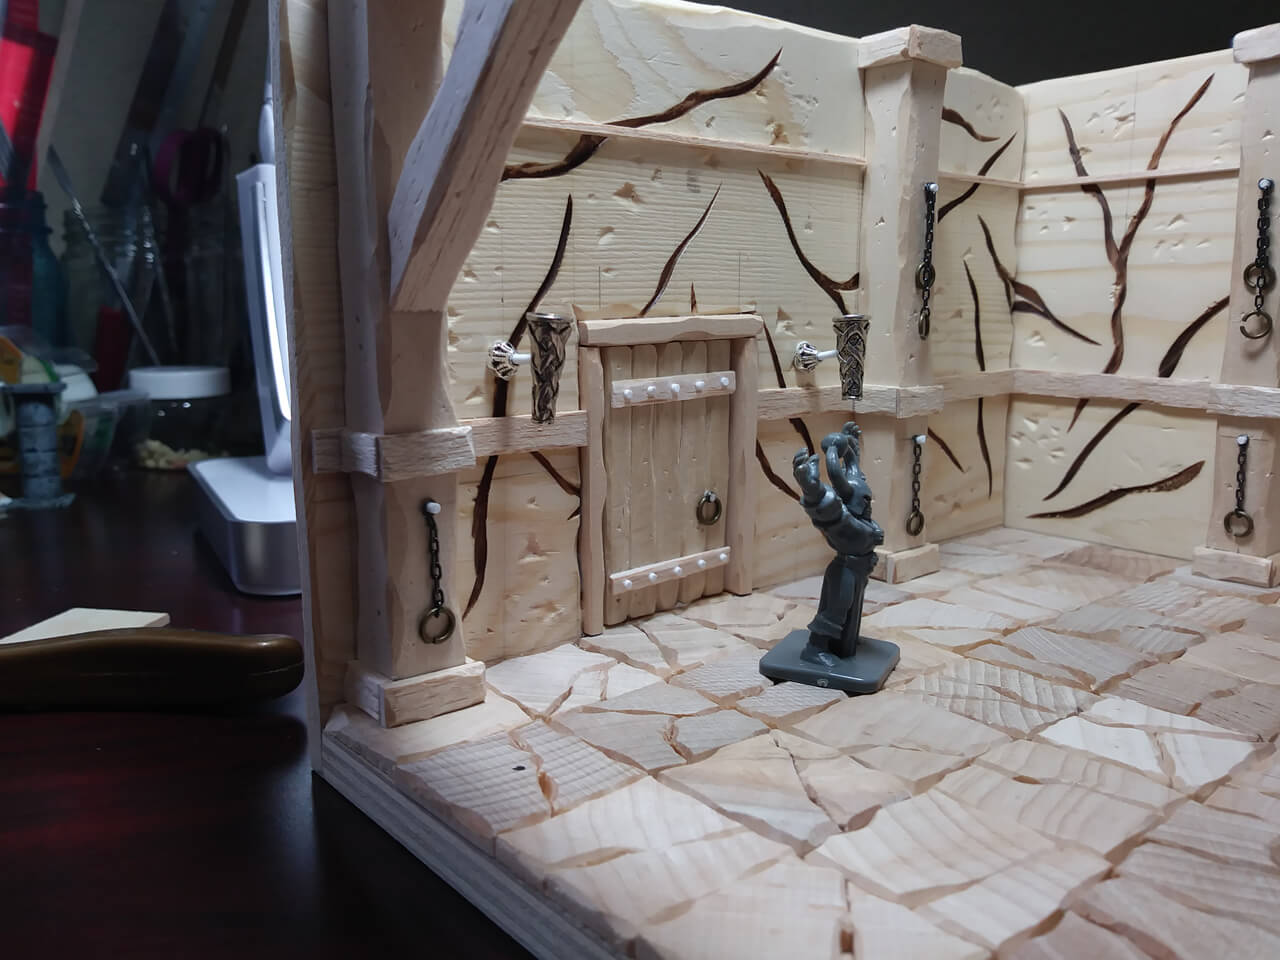
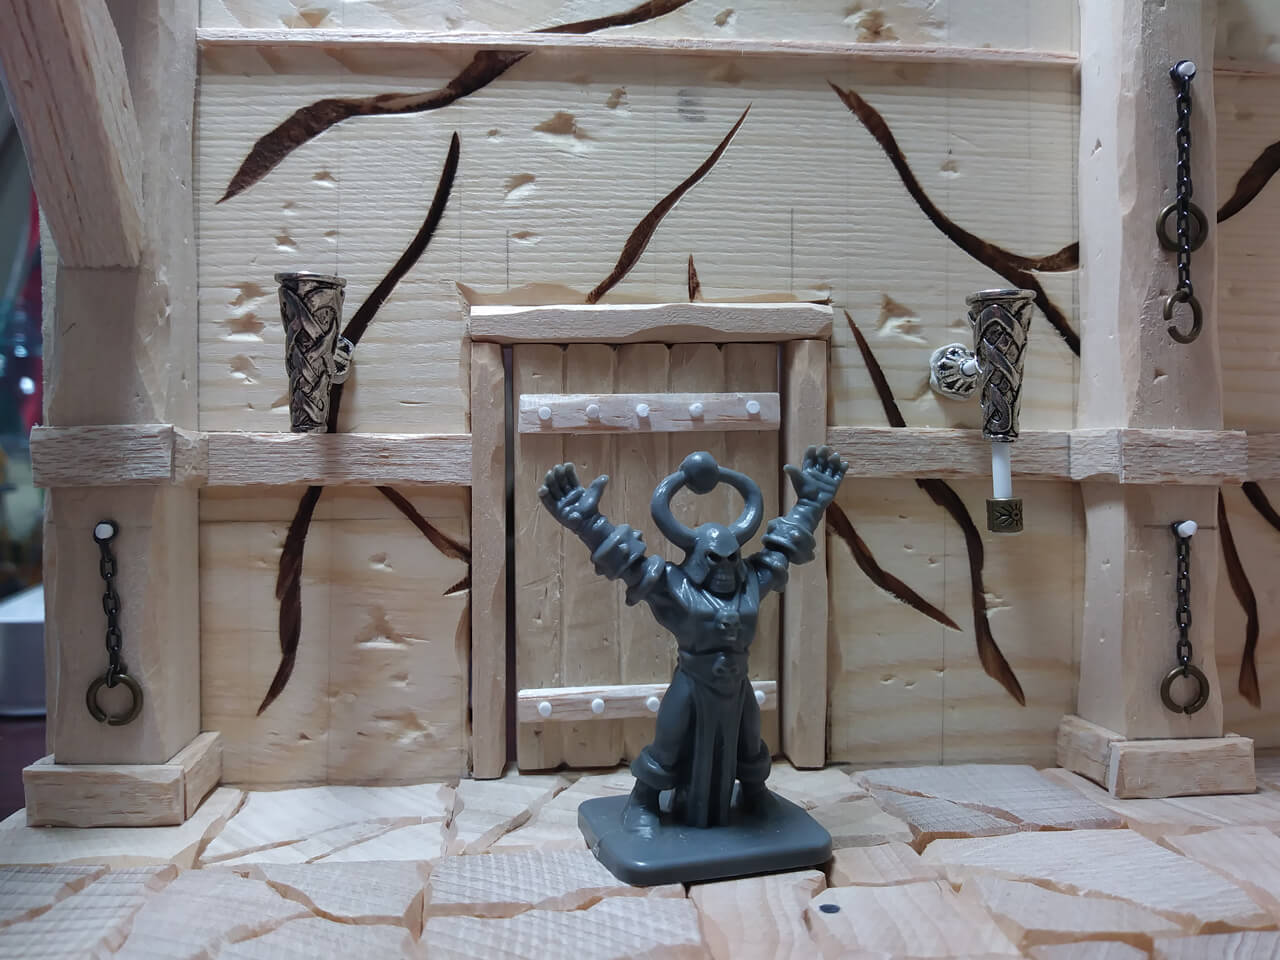
Below you can see me experimenting with possibly adding a little extra design flair to the bottom on the torch. Ultimatly I decided not to use the extra bits. I thought it looked good without it. Sometimes less is best.
Step 12 – Sculpting the fire…
With the basic torch design finished, it was time to make the fire. To create the fire I used green stuff and my metal sculpting tools.
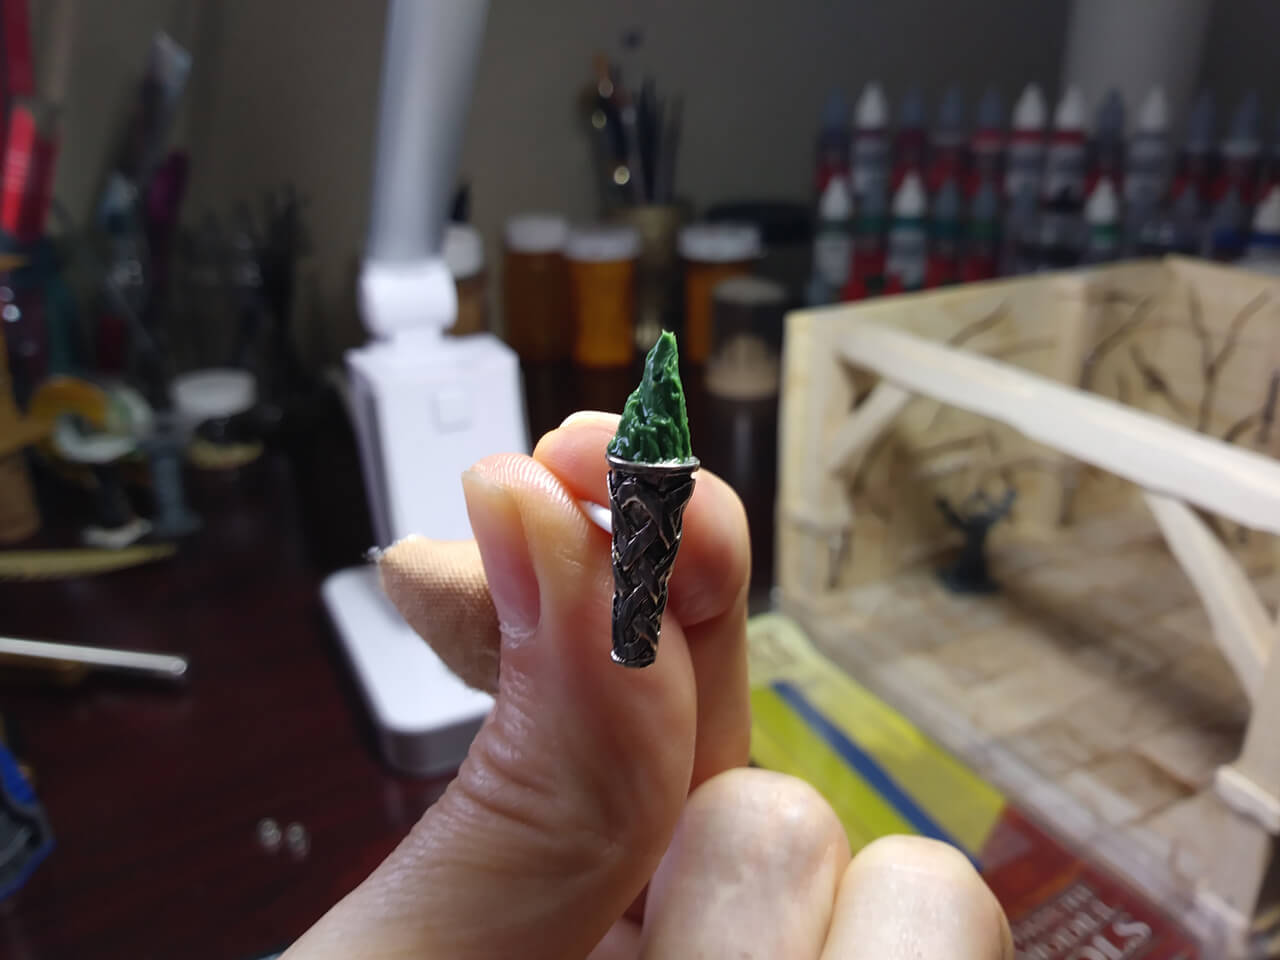
I think the torches turned out pretty good. Now time to glue everything into place.
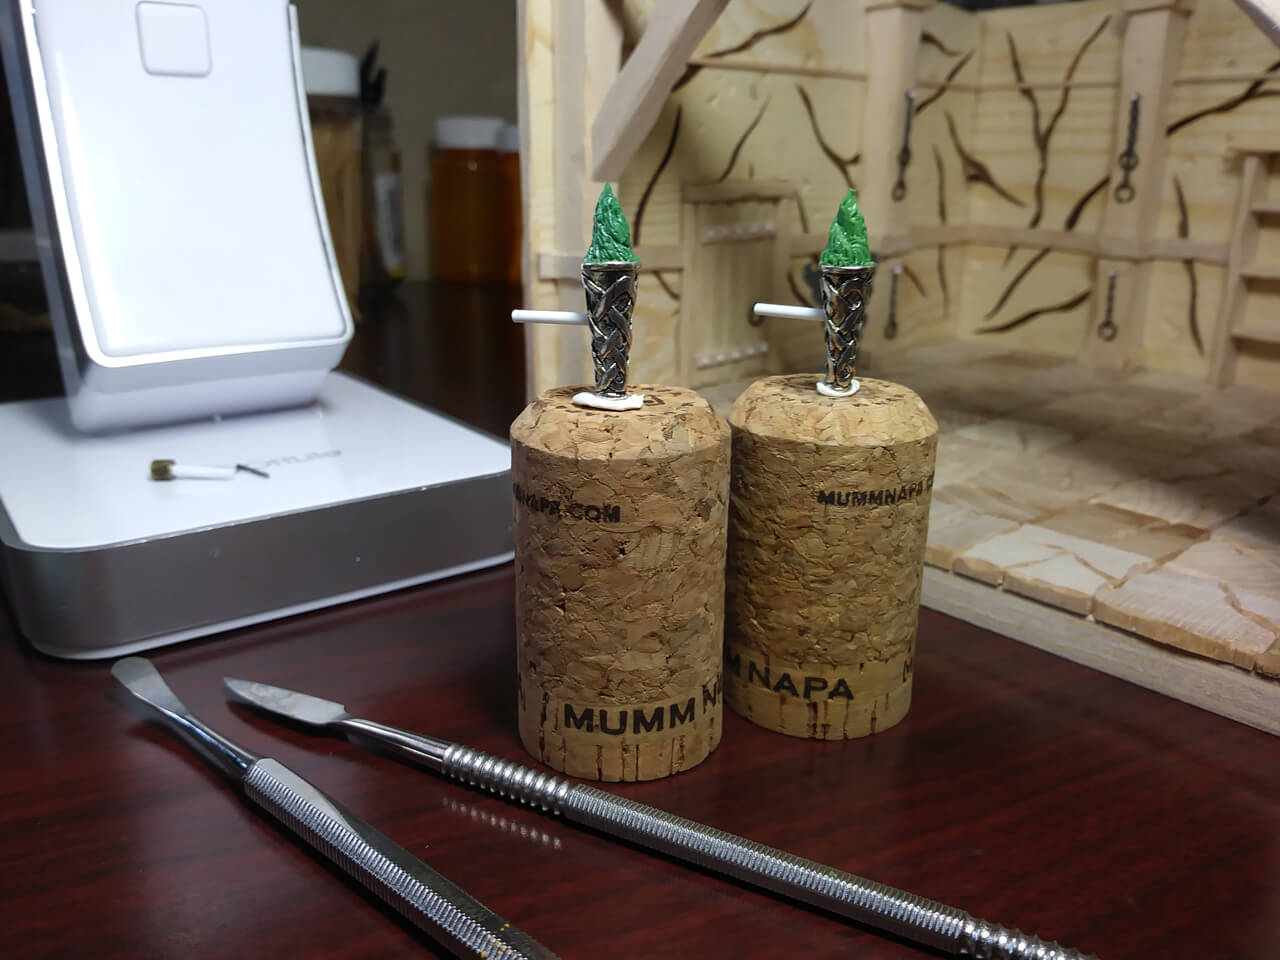
The torches really add the finishing touch to the dungeon room.
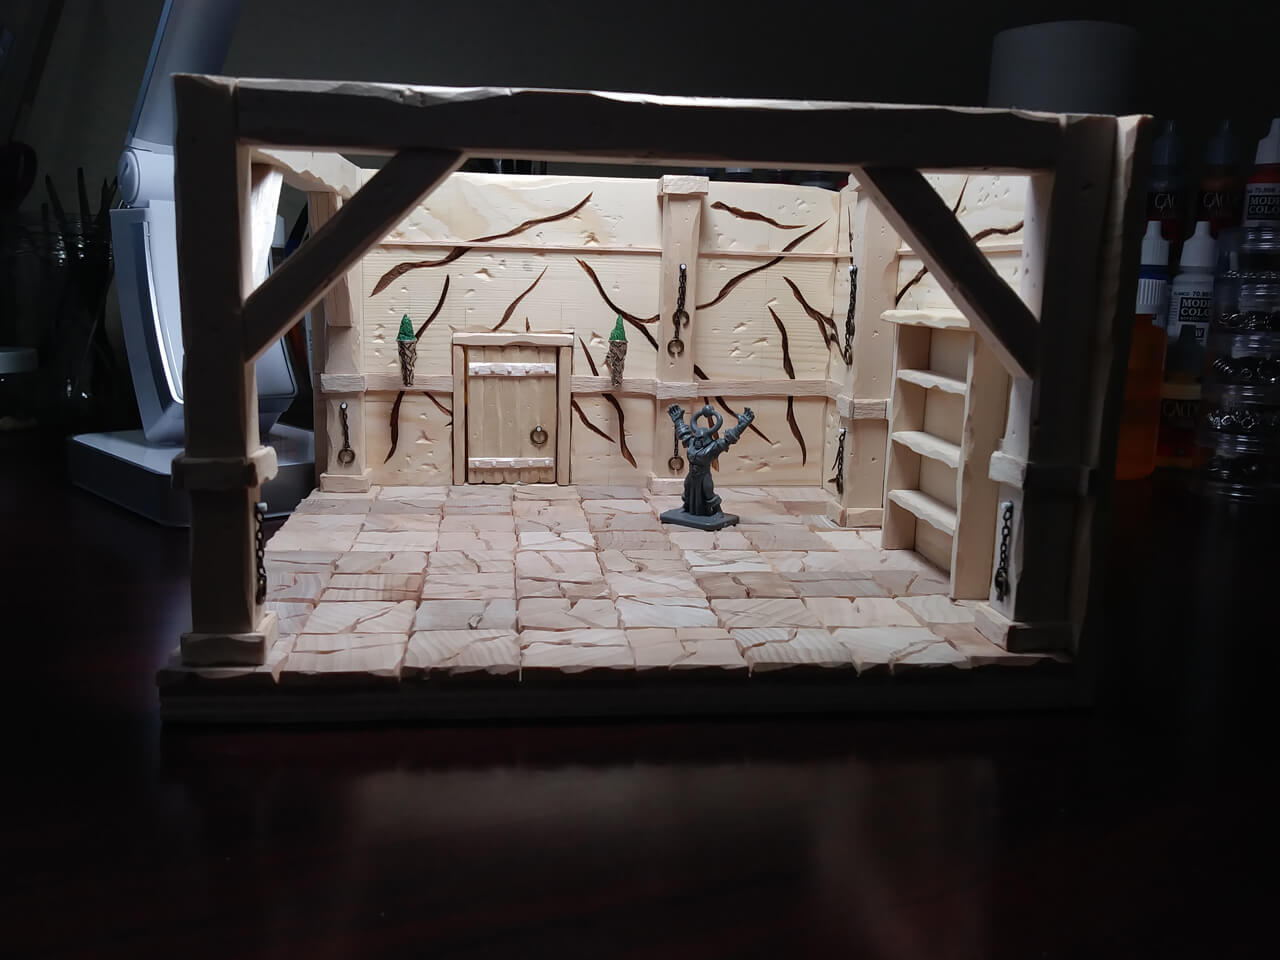
Thank you for following along. Next we'll move on to the painting!


Comments
No comments
Login or Register a free account to post a comment.
Login Register a Free Account