Dungeon Diorama - Large Room Part 2
Robert 0 Comments October 20, 2017
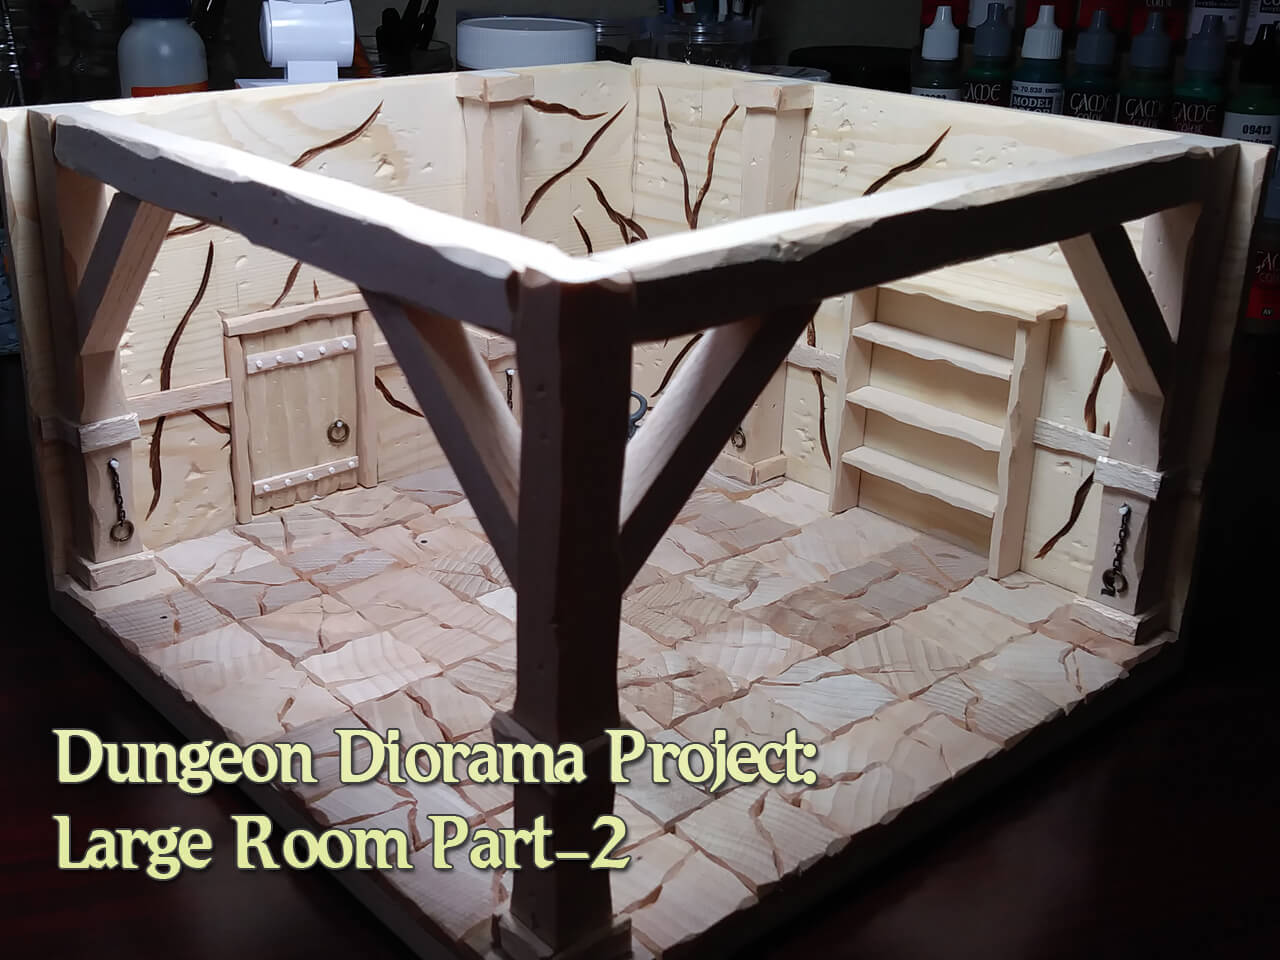
Welcome back to the Miniature Dungeon Diorama Project – Large Room part 2. As mentioned, the main reason for doing this build was to showcase our miniature accessories that we manufacture. I wanted a cool backdrop to add life to our gaming pieces.
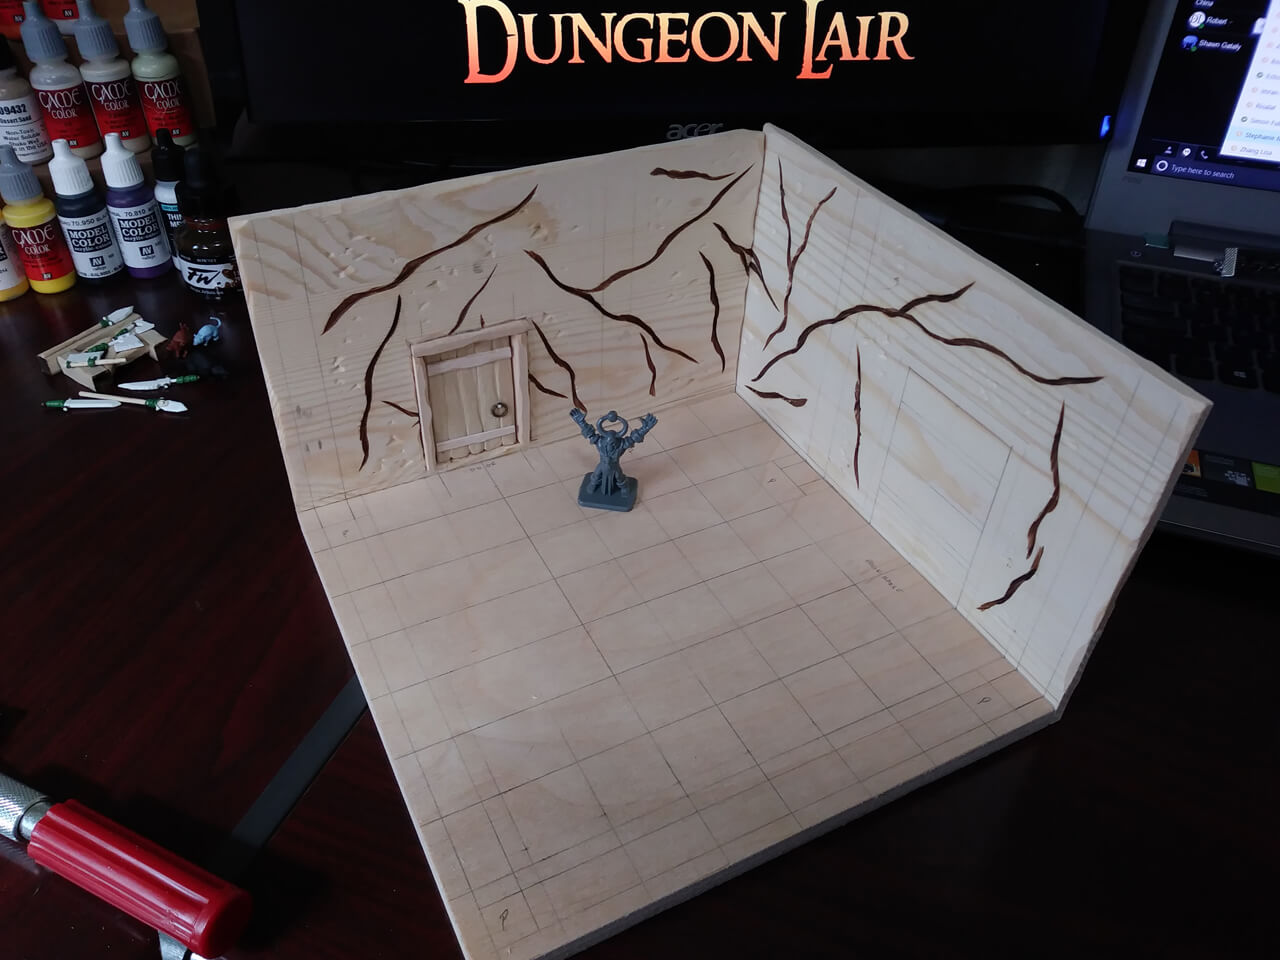
Step 4 – Adding details to the walls / installing the door…
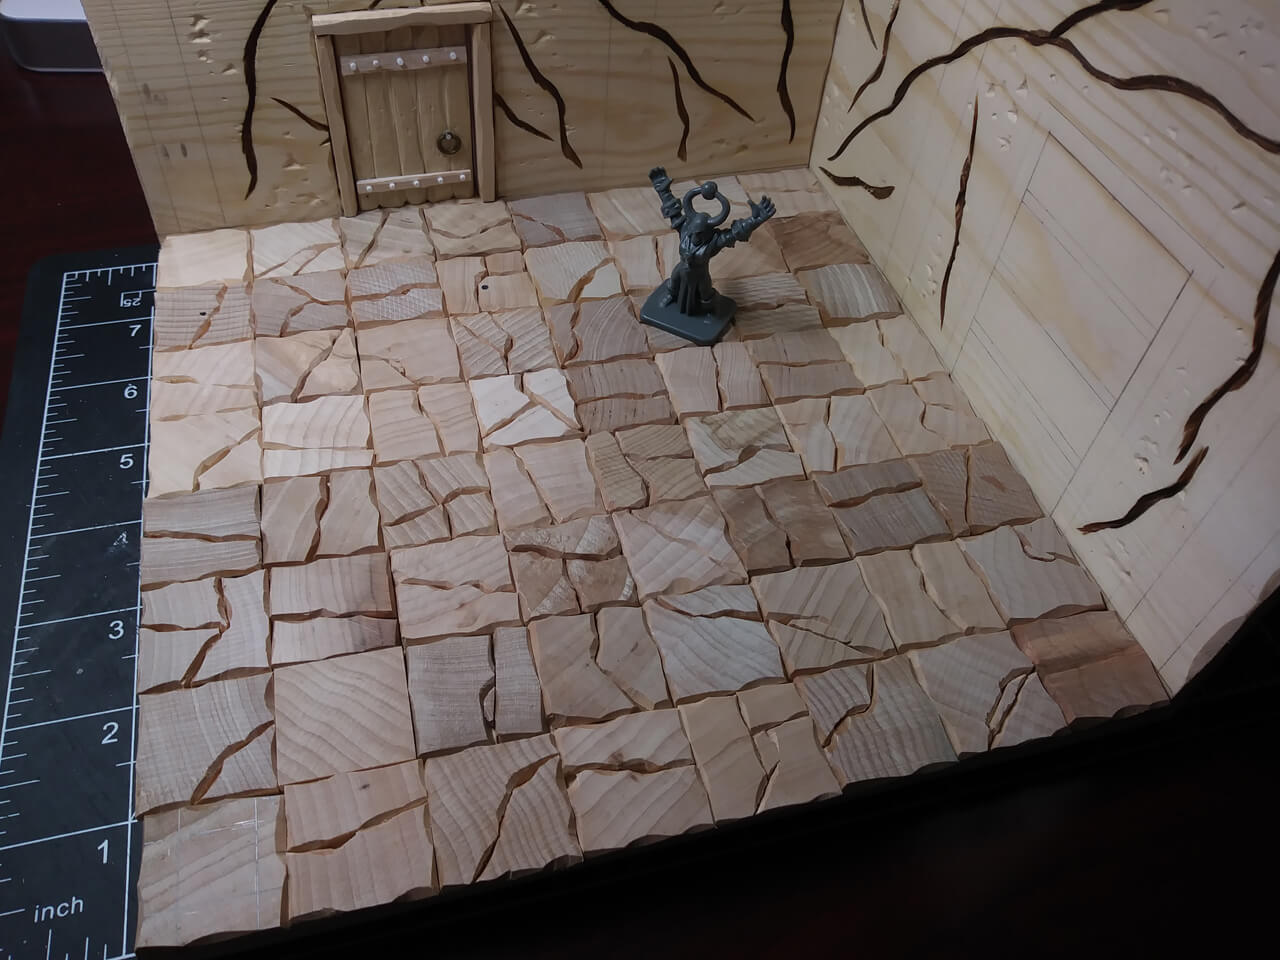
Adding the little details to the walls is a lot of fun and when painted up will add a lot of depth and realism to the piece. I use several different tools to add the cracks, crevices, and gouges in the walls. For the large cracks in the walls I use a dremel tool. For the smaller cracks and little gouges I use the end of a metal ruler and different sculpting tools and files that I have.
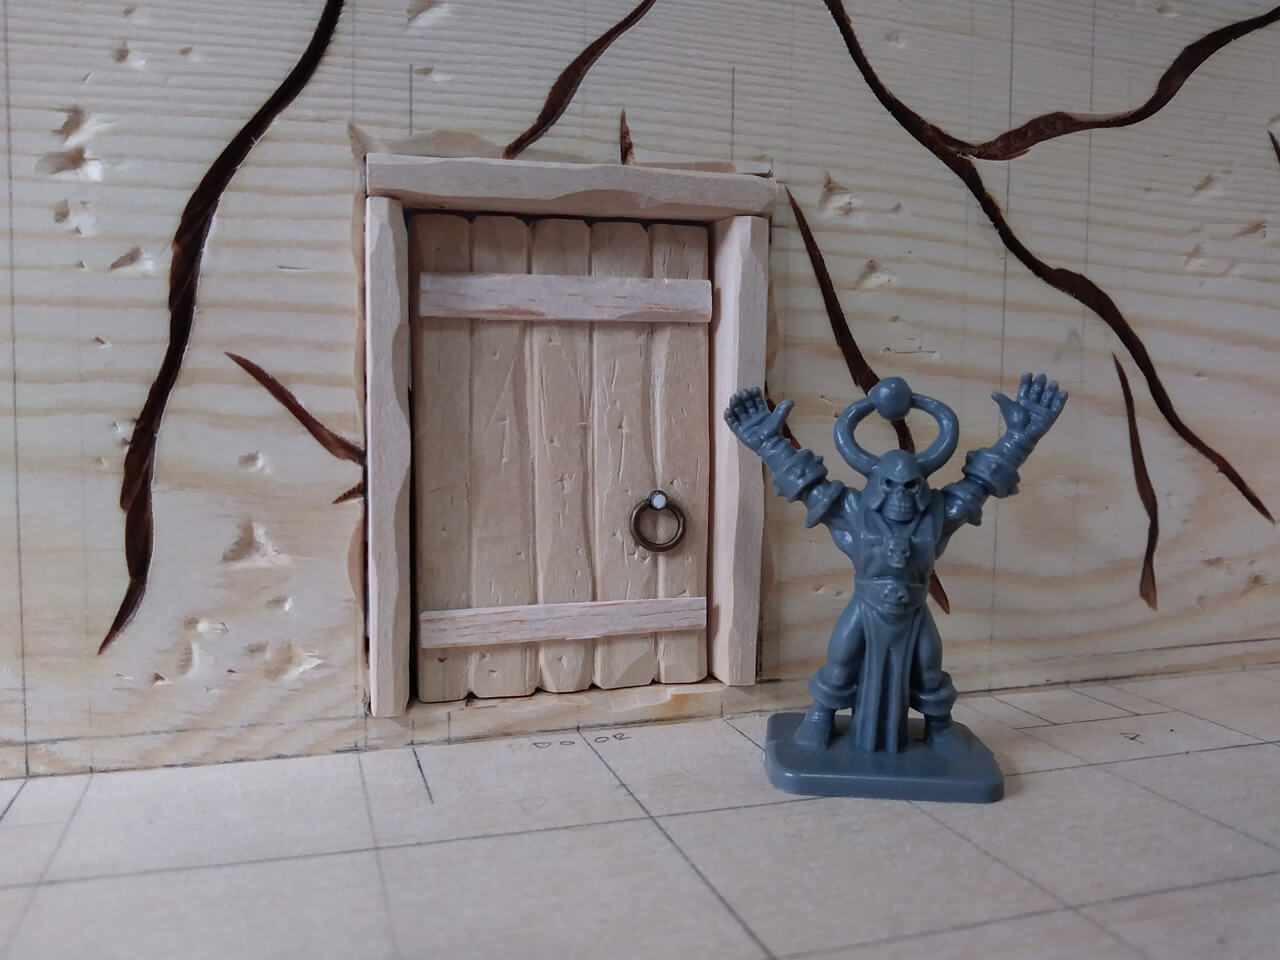
Here you can see the closeup of the door with all of the little details, such as the little rivets and metal door handle.
Step 5 – Carving the floor tiles…
This diorama has 64 separate floor tiles and each one is hand carved. No two tiles are exactly the same. This was by far the most time consuming portion of the build.
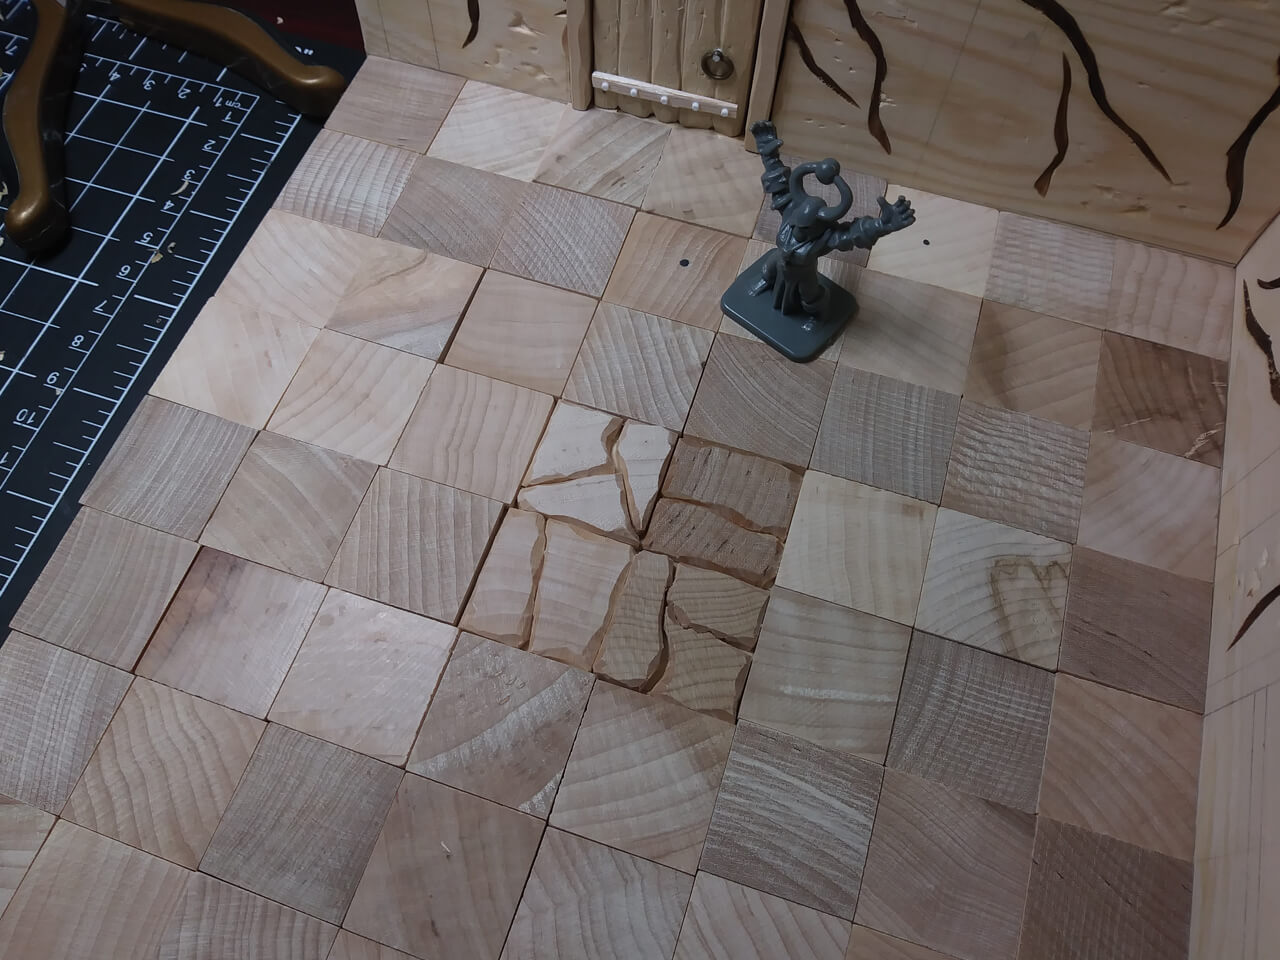
Below you can see, the floor is finally finished – save one tile! Haha, I actually missed one!
Step 6 – Dry fitting the main pillars…
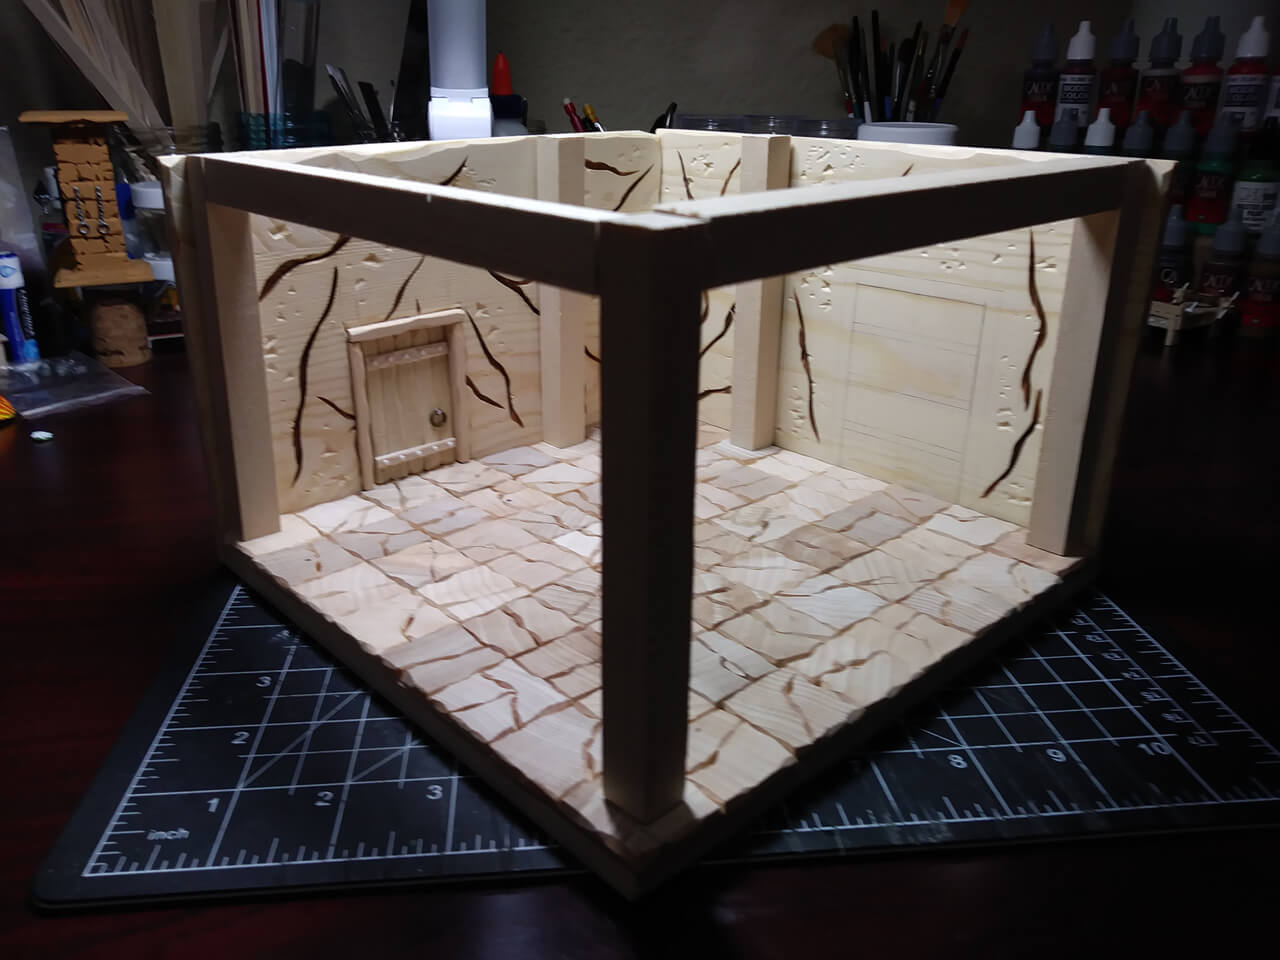
So before I glue down anything permanently I always do a dry fit, just to see how everything looks and fits together. I still have to add the little details to all the pillars, but we’ll see that in the next post.
Thanks for visiting, and stay tuned for part-3 of the Miniature Dungeon Diorama Project: Large Room.


Comments
No comments
Login or Register a free account to post a comment.
Login Register a Free Account